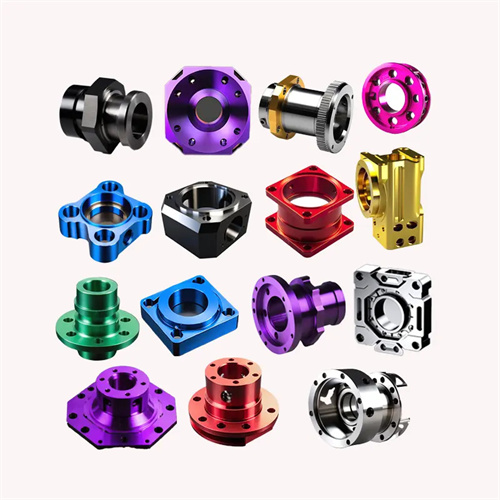
CNC Machining of cast iron split nut holder
The cast iron split nut holder is a key component in a lathe’s feed system, meshing with the lead screw to achieve longitudinal feed. Its structure consists of two halves, left and right, which form a complete nut when closed and separate from the lead screw when open. It features high positioning accuracy and excellent wear resistance. Cast iron split nut holders are typically manufactured from HT250 or HT300 gray cast iron, with a hardness of 180-240 HBW. They offer excellent casting and cutting properties, but are brittle and relatively weak, requiring care to prevent CNC machining deformation and surface defects during turning. Key priorities in turning the split nut holder are ensuring the accuracy of the internal thread (typically 6H), the flatness and fit of the mating surfaces between the halves, and the precision of the fit with the slide box, all of which directly impact the lathe’s feed accuracy and stability.
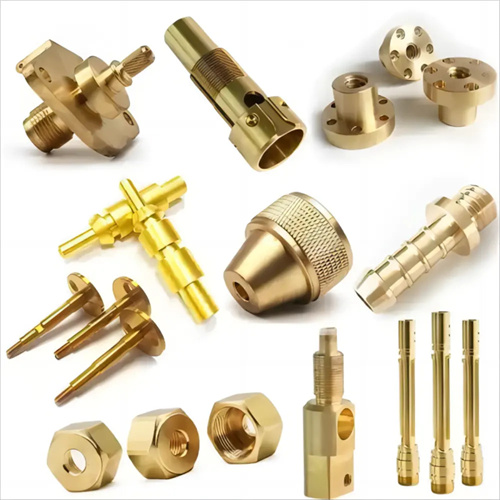
The structural characteristics and processing benchmarks of the cast iron split nut frame determine the complexity of the turning process. The main processing parts include the internal thread, mating surface, positioning hole and guide surface. The internal thread is the key surface for mating with the screw. The pitch accuracy needs to be ≤0.02mm/100mm, the tooth angle error ≤±10′, the surface roughness Ra ≤1.6μm, and the thread length is designed according to the meshing requirements, generally 1.5-2 times the screw diameter. The mating surface is the fitting surface of the left and right lobes, with a flatness error of ≤0.01mm, a surface roughness Ra ≤3.2μm, and a fitting area of ≥85%, ensuring that there is no gap when closed to avoid uneven force on the screw. The positioning hole is used to cooperate with the locating pin of the slide box. The diameter tolerance is H7, the position error is ≤0.02mm, and the perpendicularity to the mating surface is ≤0.01mm/m. The guide surface cooperates with the guide rail of the slide box, with a straightness error of ≤0.01mm/100mm and a surface roughness Ra≤3.2μm, ensuring the flexible movement of the opening and closing nut rack.
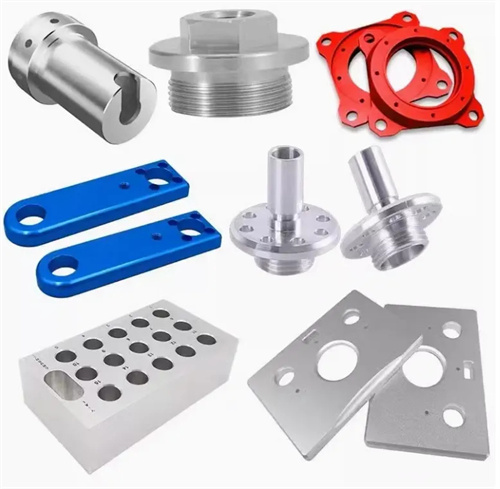
Preparing the cast iron split nut holder for turning requires blank preparation and datum CNC machining to lay the foundation for subsequent processes. The blank is sand-cast and then aged (artificially aged at 550-600°C for 4 hours) to eliminate internal stresses and prevent deformation. Residual stress after aging should be ≤50 MPa. Datum CNC machining includes milling the mating surface and positioning plane. After milling the mating surface, a turning allowance of 0.5-1mm is left, with a flatness of ≤0.03mm. The perpendicularity between the positioning plane and the mating surface should be ≤0.02mm/m, serving as a reference for subsequent clamping. Before turning, the blank is inspected for quality, casting flash and burrs are removed, and significant sand holes and air holes are repaired (using cast iron putty). Severely defective blanks are scrapped. A CNC machining process card is compiled according to the drawing requirements, clearly defining the process sequence (rough turning → semi-finishing turning → finishing turning), tool selection, and cutting parameters to ensure an orderly CNC machining process.
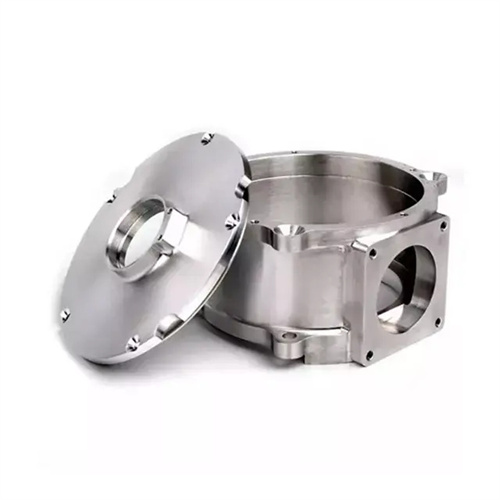
The turning process for cast iron split nut carriers is carried out in stages, adhering to the principle of “benchmarking first, then other processes, roughing first, then finishing” to gradually improve CNC machining accuracy. During the rough turning stage, the locating holes, guide surfaces, and thread base holes are machined, removing most of the stock. A 1-2mm stock is left for the locating holes and a 0.5-1mm stock is left for the guide surfaces. The thread base hole diameter is calculated as the major diameter of the internal thread minus 1.05 times the pitch (e.g., the base hole diameter for an M30 x 3 thread is 30 minus 1.05 x 3, which equals 26.85mm). Carbide tools (YG8) are used for rough turning, with a cutting speed of 60-80m/min, a feed rate of 0.2-0.3mm/r, and a depth of cut of 2-3mm. During this stage, the positional accuracy of each surface must be ensured to provide a benchmark for semi-finishing turning. Semi-finish turning corrects rough turning errors, leaving a 0.3-0.5mm allowance for finishing on locating holes and a 0.1-0.2mm allowance for guide surfaces. Threaded base holes are finish-bored to size. After semi-finish turning, flatness is ≤0.02mm and perpendicularity is ≤0.015mm/m. Finish turning is crucial for ensuring ultimate accuracy. Locating holes are finish-turned to an H7 tolerance, and guide surfaces are finish-turned to Ra ≤3.2μm. Internal threads are tapped or turned to a guaranteed 6H thread accuracy. Finish turning utilizes high-speed steel tools (W18Cr4V) at cutting speeds of 30-50m/min and feeds of 0.05-0.1mm/r to enhance surface quality.
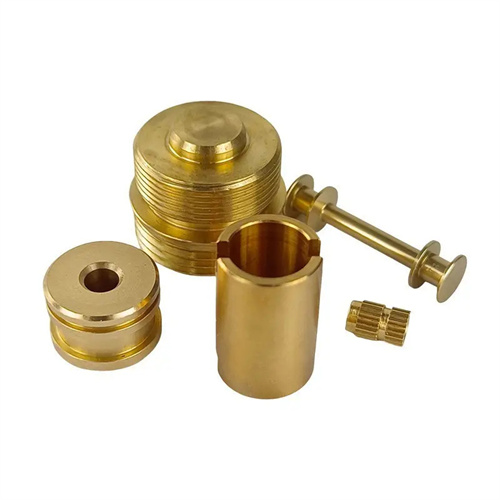
Clamping and internal threading of cast iron split nut holders present challenges during turning, requiring specialized fixtures and appropriate methods to ensure accuracy. During clamping, use the mating surface and positioning plane as references, clamp evenly with a pressure plate, and maintain a clamping force of ≤800N to prevent workpiece deformation. For thin-walled areas, additional support is required to prevent vibration during CNC machining. Internal threading can be accomplished by turning or tapping. CNC Machining is suitable for threads with large pitches (P ≥ 3mm). Pitch accuracy is maintained by adjusting the lathe pulley. The tool head angle is equal to the thread profile angle (60°), and the cutting edge is sharp. Kerosene is used for cooling during cutting. Tapping is suitable for threads with small pitches (P ≤ 2mm). Machine taps (such as HSS-E) are used, with both rough and fine tapping. A 0.1-0.2mm allowance is left for rough tapping, while fine tapping ensures thread accuracy. During tapping, ensure the tap is concentric with the bottom hole ≤0.02mm to avoid thread skew. After the two halves of the nut are processed separately, the mating surfaces need to be ground in pairs, and the fit should be checked with red lead powder until the fitting area is ≥85% and the mating surface gap after grinding is ≤0.01mm.
