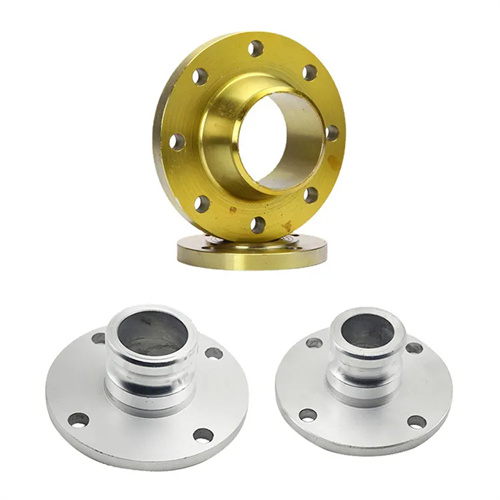
Methods for measuring eccentricity
Eccentricity refers to the distance between the axis of a rotating part and its reference axis. It is a key indicator of part machining accuracy. Accurately measuring eccentricity is crucial for ensuring the part’s assembly and performance. There are several common methods for measuring eccentricity, each with its own scope of application and characteristics. The following details several common measurement methods.
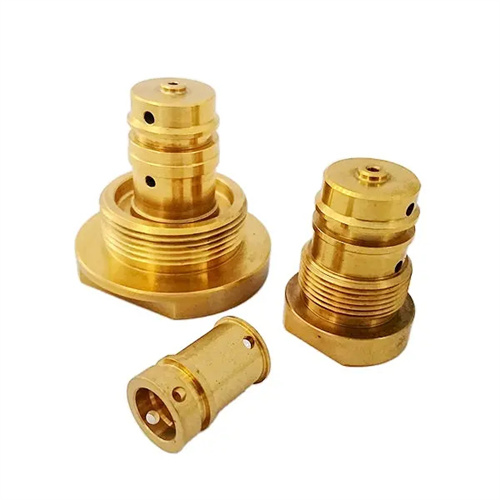
The dial gauge method is one of the most commonly used methods for measuring eccentricity. This method is simple to operate and low in cost, and is suitable for measuring eccentric parts with low precision requirements. The specific operating steps are as follows: First, install the part to be measured between the two centers so that the part can rotate freely; then contact the probe of the dial indicator with the eccentric outer cylindrical surface of the part, and adjust the pointer of the dial indicator so that it points to zero; then slowly rotate the part for one circle and observe the swing of the dial indicator pointer. Half of the difference between the maximum and minimum values indicated by the pointer is the eccentricity of the part. During the measurement process, it is necessary to ensure that the axis of rotation of the part coincides with the line connecting the two centers to avoid inaccurate measurement results due to installation errors. At the same time, the measuring range and accuracy of the dial indicator should be selected according to the eccentricity size and precision requirements of the part to be measured. For parts with smaller eccentricity, a dial indicator with higher precision should be used.
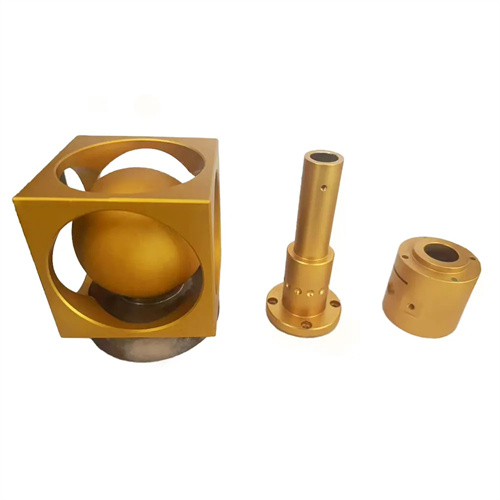
Coordinate measurement is a high-precision method for measuring eccentricity. It is suitable for measuring eccentric parts with high precision requirements, especially for complex eccentric parts, where this method offers unique advantages. Coordinate measurement is typically performed using a three-dimensional coordinate measuring machine (CMM). The measurement principle involves measuring the coordinates of characteristic points on the part related to eccentricity and then calculating the eccentricity based on these coordinates. To perform this operation, the part to be measured is first mounted on the CMM’s worktable and a suitable measurement coordinate system is established. The CMM’s probe then measures characteristic points on the part’s reference axis and eccentric axis, such as the generatrix of a cylindrical surface or the center of an end face. Finally, based on the coordinates of these characteristic points, the distance between the reference axis and the eccentric axis, i.e., the eccentricity, is calculated. While the CMM can achieve accuracy exceeding 0.001mm, it suffers from low efficiency and high equipment costs, making it suitable for measuring parts in small batches with high precision requirements.
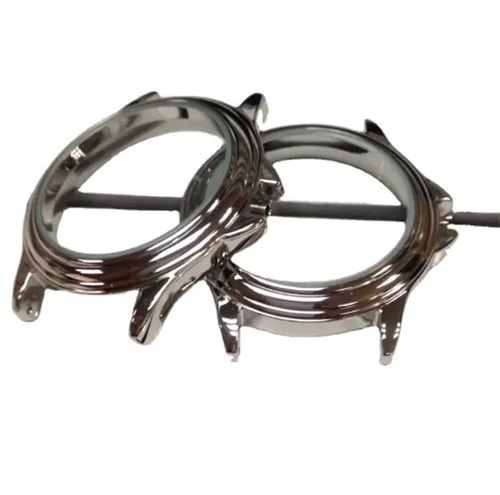
The gauge method is a method of measuring eccentricity using a special gauge. It is suitable for rapid inspection of eccentric parts in mass production. The measurement principle of the gauge method is to design and manufacture a special gauge based on the eccentricity of the part. The working surface of the gauge matches the eccentric surface of the part. By observing whether the part can pass through the gauge smoothly or fits tightly with the gauge, it can be judged whether the eccentricity of the part is within the specified tolerance range. For example, for eccentric shaft parts, a ring gauge with an eccentric hole can be designed. The eccentricity of the ring gauge is equal to the nominal eccentricity of the part. When the part can be smoothly inserted into the ring gauge and the gap between the two is within the allowable range, it means that the eccentricity of the part is qualified. The gauge method has high measurement efficiency, simple operation, and does not require professional measurement personnel. However, the design and manufacture of the gauge requires a certain cost, and it can only determine whether the part is qualified, but cannot give a specific eccentricity value.
Optical instrument measurement utilizes optical principles to measure eccentricity. This method offers advantages such as high accuracy and non-contact measurement, making it suitable for measuring high-precision eccentric parts or parts prone to deformation. Commonly used optical measuring instruments include tool microscopes and projectors. When measuring eccentricity with a tool microscope, the part to be measured is first placed on the microscope’s worktable. The microscope’s focus and position are adjusted so that the part’s reference axis and eccentric axis are clearly imaged in the eyepiece’s field of view. The microscope’s readout is then used to measure the horizontal and vertical distances between the two axes. Finally, the distance between the two axes, i.e., the eccentricity, is calculated using the Pythagorean theorem. Projector measurement uses a similar principle to that of a tool microscope: the part’s outline is projected onto a screen and the eccentricity is determined by measuring the distance between the two axes on the screen. While optical instrument measurement offers higher accuracy, it also comes at a higher cost and places stricter demands on the measurement environment, requiring constant temperature, humidity, and a vibration-free environment.
Laser measurement is an advanced method for measuring eccentricity. It utilizes the high directivity, high monochromaticity, and high coherence of lasers to achieve high-precision and rapid measurement of eccentricity. The laser measurement method works by emitting a laser beam onto the surface of the part being measured, using a laser sensor to receive the reflected laser signal, and calculating the part’s eccentricity based on changes in the laser signal. Specifically, when the part rotates, the distance between the part surface and the laser sensor changes periodically due to the eccentricity. The laser sensor converts this distance change into an electrical signal, and after signal processing and analysis, the part’s eccentricity is obtained. Laser measurement has the advantages of fast measurement speed, high accuracy, and a high degree of automation, making it suitable for online measurement and quality control in production lines. However, this method has high equipment costs and is difficult to maintain.
