Basic knowledge of turning
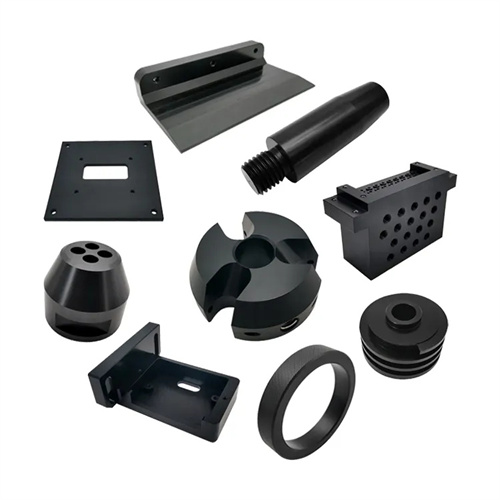
CNC Machining is one of the most basic and commonly used machining methods in mechanical manufacturing. It involves using a tool on a lathe to cut a rotating workpiece to obtain a part with the desired shape, size, and surface quality. Mastering the basics of turning is crucial for understanding turning principles, correctly operating a lathe, and ensuring machining quality. This foundational knowledge includes the components and operating principles of a lathe, basic knowledge of turning tools, workpiece clamping methods, selecting cutting parameters, and the basic turning processes.
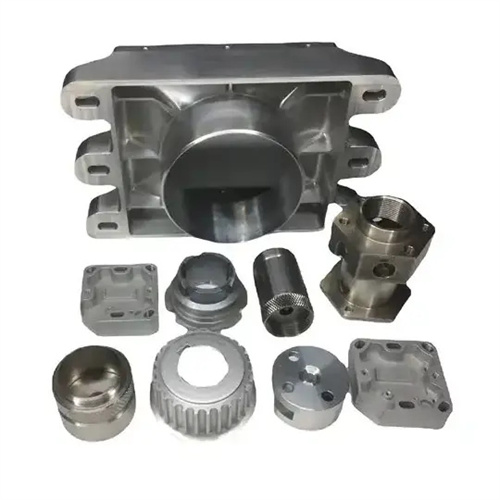
The composition and operating principle of a lathe are fundamental to turning operations. A lathe primarily consists of a bed, a spindle box, a feed box, a slide box, a toolholder, a tailstock, a lead screw, and a guide bar. The bed is the foundational component of the lathe, supporting and connecting the other components to ensure accurate relative positioning. The spindle box houses the spindle and a speed change mechanism, which rotates the workpiece. The spindle’s rotational accuracy directly impacts machining accuracy. The feed box houses the speed change mechanism for the feed motion, which changes the feed rate or thread pitch. The slide box transmits motion from the feed box to the toolholder, enabling longitudinal and lateral feed. The toolholder holds the cutting tool and can achieve longitudinal, lateral, and diagonal feeds. The tailstock supports the workpiece or holds tools such as drills and reamers. The lead screw is used to create threads, and the guide bar facilitates longitudinal and lateral feeds. The lathe’s operating principle is that the spindle rotates the workpiece, creating the primary motion. Driven by the feed motion, the toolholder moves relative to the workpiece, removing excess metal and achieving the desired part shape.
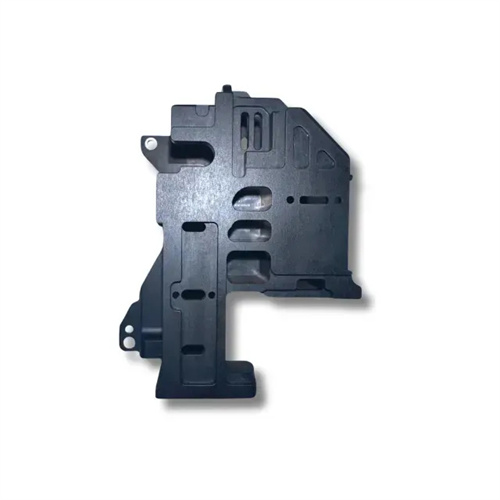
The basic knowledge of turning tools includes the composition, geometric parameters and materials of the tools. CNC Machining tools are composed of two parts: the cutter head and the tool holder. The cutter head is the cutting part of the tool and is directly involved in the cutting work. The tool holder is the part used to install the cutter head and plays a supporting role. The geometric parameters of the tool mainly include the rake angle, clearance angle, main deflection angle, secondary deflection angle and cutting edge inclination angle. These parameters have an important influence on the cutting force, cutting temperature, tool wear and machined surface quality. The rake angle is the angle between the front face of the tool and the base surface. As the rake angle increases, the cutting force decreases and the cutting temperature decreases, but the strength of the tool will decrease; the clearance angle is the angle between the back of the tool and the cutting plane. As the clearance angle increases, the friction between the back of the tool and the workpiece decreases, but the strength of the tool will also decrease; the main deflection angle is the angle between the projection of the main cutting edge on the base surface and the feed direction. As the main deflection angle decreases, the radial component of the cutting force increases, which is easy to cause vibration. The material of turning tools should have high hardness, high wear resistance, sufficient strength and toughness, and good heat resistance. Commonly used tool materials include high-speed steel, cemented carbide, ceramics and cubic boron nitride. High-speed steel tools have good toughness and are often used for low-speed cutting; cemented carbide tools have high hardness and good wear resistance and are often used for high-speed cutting.
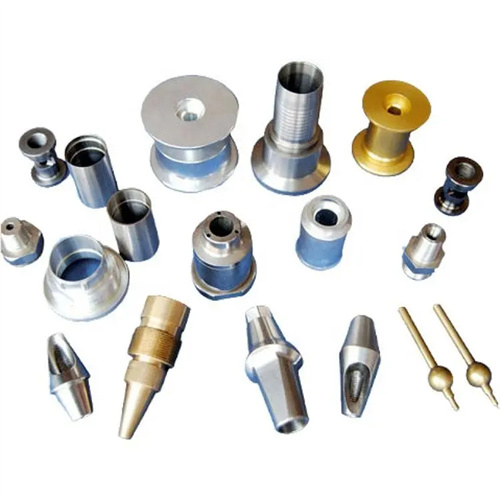
The workpiece clamping method is crucial to ensuring turning quality. Different workpiece shapes and sizes require different clamping methods. Common clamping methods include three-jaw self-centering chuck clamping, four-jaw single-action chuck clamping, center clamping, spindle clamping, and faceplate clamping. Three-jaw self-centering chuck clamping is suitable for workpieces with symmetrical shapes such as round and hexagonal shapes. Its three jaws can automatically center, and clamping is convenient and quick, but the centering accuracy is not high, generally 0.05-0.1mm; four-jaw single-action chuck clamping is suitable for workpieces with irregular or asymmetrical shapes. The four jaws can be adjusted individually to achieve precise alignment, but the clamping efficiency is low; center clamping is suitable for long shaft workpieces. The workpiece is supported by the front and rear centers to ensure the coaxiality of the workpiece. It is often used for turning long shafts, lead screws and other parts; spindle clamping is suitable for disc-type workpieces with holes as the reference. The workpiece is put on the spindle and clamped by nuts or pressure plates to ensure the radial runout accuracy of the workpiece; disc clamping is suitable for workpieces with complex and irregular shapes. There are multiple T-slots on the disc, and the workpiece can be clamped by bolts and pressure plates. A dial indicator is required to align the position accuracy of the workpiece during clamping.
The selection of cutting parameters is an important knowledge that needs to be mastered in turning processing. Cutting parameters include cutting speed, feed rate and back cutting depth, which directly affect processing efficiency, processing quality and tool life. Cutting speed refers to the instantaneous speed of a point on the cutting edge relative to the workpiece when the workpiece rotates. The unit is m/min. Too high a cutting speed will increase tool wear and increase cutting temperature, affecting processing quality; too low a cutting speed will reduce processing efficiency. Feed rate refers to the distance the tool moves in the feed direction per revolution of the workpiece. The unit is mm/r. As the feed rate increases, the surface roughness value of the machined surface increases, but the processing efficiency improves; as the feed rate decreases, the surface roughness value decreases, but the processing efficiency decreases. Back cutting depth refers to the depth that the tool cuts into the workpiece. The unit is mm. As the back cutting depth increases, the cutting force increases, which will cause deformation and vibration of the workpiece, affecting processing accuracy; as the back cutting depth decreases, multiple feeds are required, reducing processing efficiency. When selecting cutting parameters, they should be reasonably determined based on the workpiece material, tool material, processing accuracy and surface quality requirements. Generally, the back cutting amount should be determined first, then the feed rate, and finally the cutting speed.
The basic turning processes include external cylindrical turning, facing, step turning, drilling, boring, threading, grooving, and parting. Different processes have different processing methods and uses. External cylindrical turning is the most basic turning process, used to process the outer cylindrical surface of a workpiece. It can be divided into rough turning, semi-finishing turning, and finishing turning. Rough turning mainly removes most of the excess, while semi-finishing and finishing turning are used to improve dimensional accuracy and surface quality. Facing is used to process the end face of the workpiece, ensuring that the end face is perpendicular to the axis. Step turning is used to process stepped shaft parts with different diameters, and it is necessary to ensure that the step surface is perpendicular to the axis. Drilling is the process of using a drill to produce a hole in the workpiece, and is used to process blind holes or through holes. Boring is the process of enlarging an existing hole in the workpiece with a boring tool, which can improve the dimensional accuracy and shape accuracy of the hole. Threading is used to produce internal and external threads and is a key process to ensure the quality of threaded connections. Grooving is used to produce various grooves on the workpiece, such as undercuts and sealing grooves. Parting is used to separate the workpiece from the blank or cut a groove of a certain depth on the workpiece. Mastering the processing methods and operating points of these basic processes is the basis for turning processing.
