CNC Machining Eccentric Workpieces with Special Fixtures
Using specialized fixtures to turn eccentric workpieces is a highly effective method for mass-producing eccentric parts. Eccentric workpieces are parts whose axis does not coincide with the reference axis (existing an eccentricity), such as eccentric shafts, eccentric sleeves, and crankshafts. These parts are widely used in internal combustion engines, machine tools, water pumps, and other equipment. The difficulty in CNC machining eccentric workpieces lies in ensuring the accuracy of the eccentricity (generally required to be 0.01-0.1mm) and the positional precision of each eccentric component. Using specialized fixtures allows for rapid clamping and accurate positioning of the workpiece, reducing auxiliary time and improving CNC machining accuracy and consistency. This makes it particularly suitable for CNC machining eccentric workpieces with small eccentricities and in large batches.
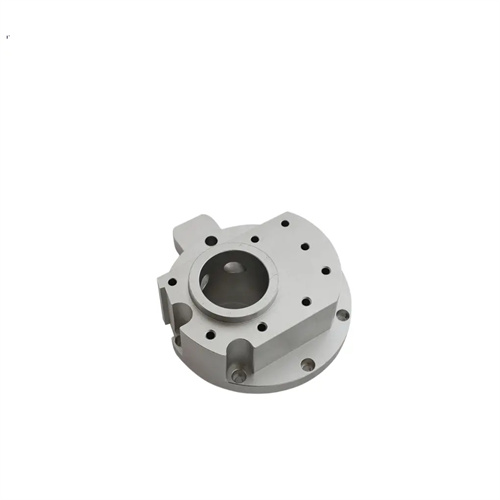
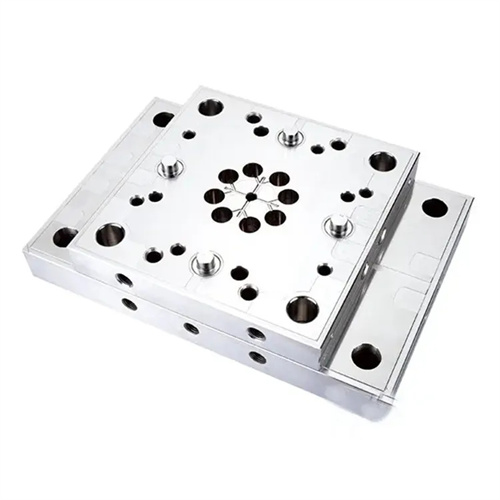
The design of a specialized fixture must be determined based on the structural characteristics and CNC machining requirements of the eccentric workpiece. Its core objective is to ensure that the workpiece’s positioning datum precisely matches the fixture’s positioning elements, aligning the workpiece’s eccentric axis with the lathe spindle axis. The fixture consists of a positioning element, a clamping device, a clamping base, and a guide element. The positioning element is used to determine the correct position of the workpiece. Commonly used elements include locating pins, V-blocks, and locating sleeves. The accuracy of the positioning element must exceed that of the workpiece. For example, the diameter tolerance of locating pins is g6, and the symmetry error of V-blocks is ≤0.01mm. The clamping device securely clamps the workpiece. Commonly used methods include bolted clamps, eccentrics, and pneumatic or hydraulic clamping mechanisms. The clamping force must be uniform and moderate, ensuring both workpiece stability and deformation. For thin-walled eccentric sleeves, multi-point clamping or elastic clamping is required, with a clamping force of 500-1000N. The clamp is used to connect various components and must have sufficient rigidity and strength. The material used is HT300 cast iron or Q235 steel welded structure. Large clamps need to be aged to eliminate internal stress. The connection methods between the clamp and the lathe spindle include taper shank connection, flange connection, etc. The connection accuracy must ensure radial runout ≤0.01mm.
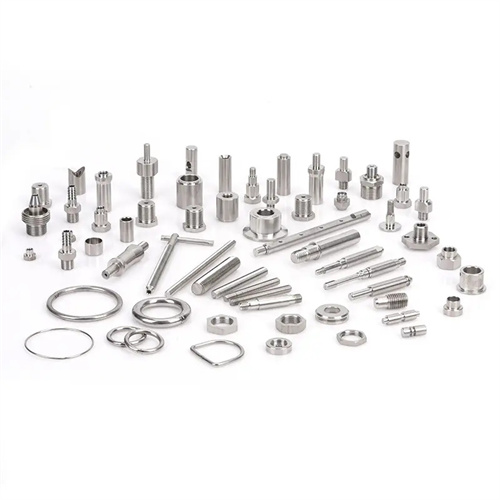
The process for turning eccentric shafts using a specialized fixture is applicable to a variety of eccentric shaft parts, and its fixture structure and CNC machining steps are representative. For single-eccentric shafts (such as eccentric journals), the specialized fixture typically utilizes a locating sleeve and a pressure plate for clamping. The inner bore of the locating sleeve aligns with the workpiece’s reference journal (tolerance H7/g6). The eccentricity between the locating sleeve axis and the fixture’s rotational axis (i.e., the lathe spindle axis) is equal to the workpiece’s eccentricity, with a deviation of ≤0.005mm. During CNC machining, the workpiece’s reference journal is inserted into the locating sleeve and clamped with a pressure plate. The lathe spindle rotates the fixture and workpiece, and the tool is fed as it would for conventional shafts to produce the eccentric journal. For shafts with multiple eccentricities (such as crankshafts), the specialized fixture utilizes an indexing mechanism. Each eccentric journal is machined sequentially using indexing pins or a Hirth plate. Indexing accuracy is ≤±5°, ensuring the angular positional accuracy between the eccentric journals. When CNC machining multiple eccentric shafts, first machine one eccentric journal, then pull out the indexing pin, rotate the fixture to a certain angle (such as 180°, 120°), insert the indexing pin to position it, and then machine the next eccentric journal until all CNC machining is completed.
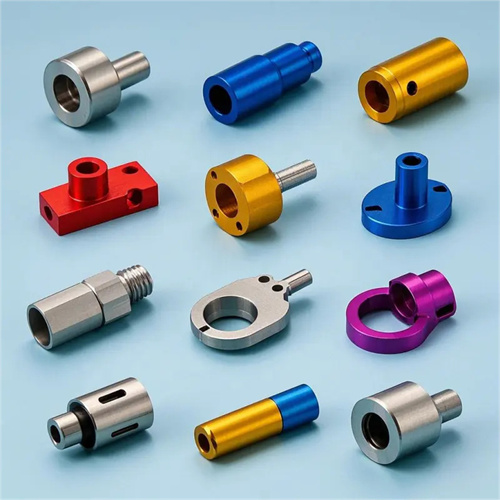
The method for turning eccentric sleeves using a dedicated fixture is similar to that for eccentric shafts, but attention must be paid to controlling the eccentricity between the inner hole and the outer diameter. Dedicated fixtures for eccentric sleeves often use either external diameter positioning or end face positioning. When using external diameter positioning, the fixture’s positioning element is a V-block or locating sleeve. The eccentricity between the V-block axis and the fixture’s rotation axis is equal to the workpiece’s eccentricity. When using end face positioning, the workpiece is positioned using end face stoppers and locating pins to ensure accurate eccentricity of the inner hole. When CNC machining an eccentric sleeve, the workpiece is first clamped in the fixture, the external diameter or end face is aligned, and after clamping, the inner hole is turned. The inner hole axis is aligned with the fixture’s rotation axis, resulting in an eccentricity relative to the outer diameter. For eccentric sleeves with steps, multiple steps can be machined in a single setup, ensuring accurate positioning between each step. During CNC machining, tool rigidity must be maintained. When turning the inner hole, the tool bar extension should be kept as short as possible to prevent vibration that could affect the inner hole accuracy and surface quality.
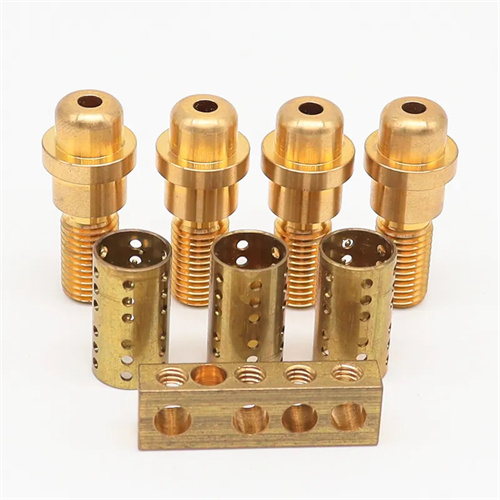
Precision control for turning eccentric workpieces using specialized fixtures requires attention to fixture manufacturing, workpiece clamping, and the CNC machining process. The accuracy of the fixture’s eccentricity is fundamental to ensuring workpiece eccentricity and must be ensured through precision CNC machining and measurement. The eccentricity of the locating element can be measured with a dial indicator while the fixture is rotating. Any error exceeding 0.005mm requires grinding and adjustment. When clamping the workpiece, ensure that the locating reference surface and the fixture’s locating element are in close contact, with a contact area of ≥90% to avoid positioning errors caused by play. Burred or uneven locating reference surfaces require pre-processing. Controlled cutting parameters are crucial during CNC machining. The rotation of an eccentric workpiece generates centrifugal force, which can cause vibration. Therefore, the cutting speed should be kept to a minimum of 50-100 m/min, with a feed rate of 0.1-0.2 mm/r and a depth of cut of 1-2 mm for rough turning and 0.1-0.3 mm for finish turning. Balancing blocks can be added to reduce vibration if necessary. The cutting fluid should be adequately cooled to reduce cutting temperatures and prevent thermal deformation of the workpiece.
