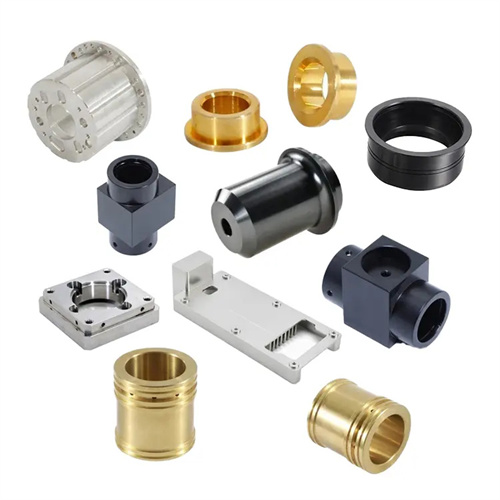
Milled sawtooth clutches are essential components for power on/off or speed switching in mechanical transmissions. Their sawtooth-like teeth offer tight engagement and high torque transmission, making them widely used in machine tools, automotive transmissions, mining machinery, and other equipment. The tooth profile of a sawtooth clutch forms a certain angle (typically 3°-8°) with the axis, and the tooth surfaces are beveled. This structure generates an axial force component when transmitting high torque, tightening the clutch engagement and preventing slippage. The key to milling a sawtooth clutch lies in ensuring the tooth angle, pitch uniformity, and tooth surface roughness. Due to its unique tooth profile, a dedicated milling cutter and indexing device are required, achieving high-quality CNC machining through precise control of tool angle and feed rate.
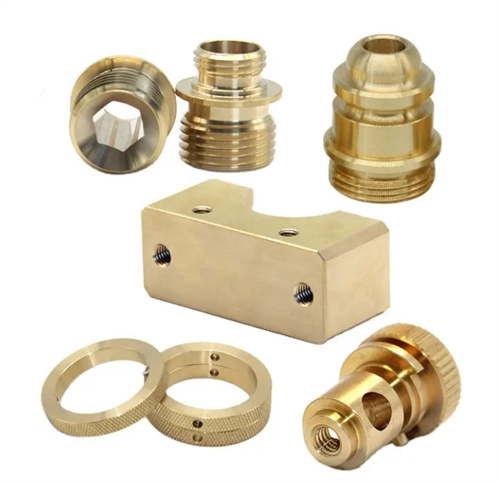
The tooth profile parameters of a sawtooth clutch must be designed based on the torque transmission and engagement requirements. Key parameters include module (m), number of teeth (z), tooth profile angle (α), tooth pitch angle (β), and tooth width (b). The module determines the size of the teeth. A large module (m ≥ 3mm) is used when transmitting high torque. For example, clutches in mining machinery often use an m = 5-10mm. The number of teeth is determined by the transmission ratio and is generally between 3 and 30. Too few teeth will result in an unstable engagement, while too many will increase CNC machining difficulty. The tooth profile angle is typically 60° or 90°. A 60° profile transmits greater torque, while a 90° profile provides a smoother engagement. The tooth pitch angle is typically between 3° and 8°. A large angle can easily generate excessive axial force, while a small angle can result in insufficient engagement. For example, the clutch parameters for a certain machine tool model are: m = 4mm , z = 10 , α = 60° , β = 5° , and b = 20mm . Its tip diameter is dₐ = m (z + 2) = 4 × 12 = 48mm , and its root diameter is d բ = m (z – 2.5) = 4 × 7.5 = 30mm . These parameters must be determined through calculation before CNC machining to serve as a basis for tool selection and machine tool adjustment.
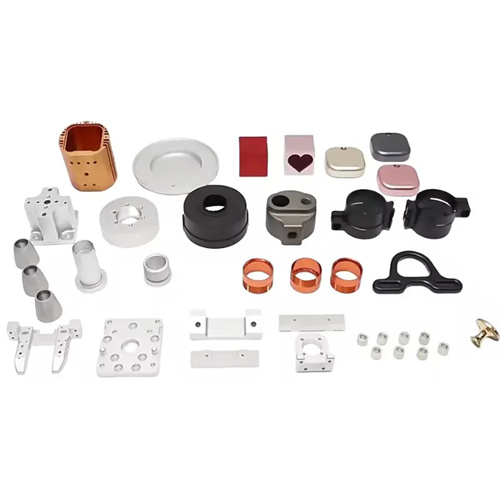
The tool selection for milling serrated clutches must match the tooth profile parameters. Commonly used tools include angle milling cutters, form milling cutters, and end mills. Angle milling cutters are suitable for CNC machining clutches with tooth profile angles of 60° or 90°. When selecting, ensure that the angle of the milling cutter is consistent with the tooth profile angle and the blade width is greater than the tooth width. For example, when CNC machining a clutch with a 60° tooth profile angle, use a 60° double-angle milling cutter with a tool tip arc radius of ≤0.5mm to avoid excessive cutting at the tooth root. Form milling cutters are suitable for mass production. Their tooth profile is exactly the same as the clutch tooth profile, and tooth profile CNC machining can be completed in a single feed. They are highly efficient and have stable precision, but the manufacturing cost is relatively high. End mills are suitable for CNC machining clutches with larger tooth angles. Tooth angle CNC machining is achieved by tilting the spindle or worktable. The tool diameter is selected according to the tooth height and is generally 2-3 times the tooth height to ensure rigidity. The tool material is selected according to the workpiece material. High-speed steel or cemented carbide (such as YT15) is used when processing steel parts, and YG8 is used when processing cast iron. The tool edge needs to be sharp and the surface roughness Ra≤0.025μm to reduce scratches on the tooth surface.
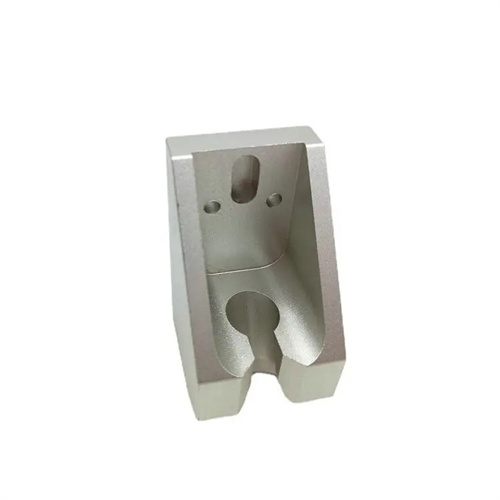
The processing technology of milling serrated clutch needs to be carried out in stages, including rough milling, semi-finishing milling and finishing milling. The purpose of rough milling is to remove most of the allowance, using a larger feed rate and cutting depth. The tool is fed radially, with a feed depth of 0.5-1mm each time until it approaches the root circle of the tooth. At this time, the depth of each tooth must be consistent, with a deviation of ≤0.1mm. Semi-finishing milling corrects the tooth profile error, adjusts the tool angle, so that the tooth profile angle and tooth direction angle meet the requirements, reduces the feed rate to 0.1-0.2mm/r, and the cutting depth to 0.2-0.3mm, focusing on controlling the straightness of the tooth surface. Finishing milling ensures the final accuracy, uses high-precision tools, a feed rate of 0.05-0.1mm/r, a cutting depth of 0.1mm, and calibrates the tooth profile through a template to ensure that the tooth profile angle error is ≤±10′ and the cumulative pitch error is ≤0.03mm. During the CNC machining process, an indexing head is required for indexing. After CNC machining each tooth, the workpiece is rotated 360°/z. The indexing accuracy is controlled within ±5′. For clutches with a large number of teeth, the differential indexing method of the universal indexing head can be used to improve the indexing efficiency.
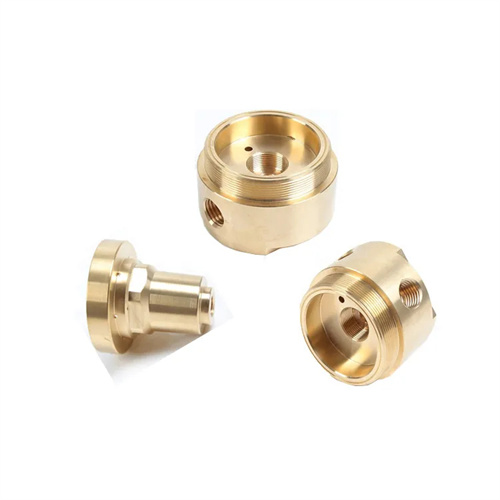
The clamping and adjustment of the milling sawtooth clutch have a significant impact on the processing accuracy. It is necessary to ensure that the workpiece is accurately positioned and the tool angle is correct. When clamping, the workpiece end face and the inner hole are used for positioning. The clearance between the inner hole and the spindle is ≤0.01mm. The end face is pressed with a pressure plate to avoid axial movement during processing. The radial runout is controlled within 0.02mm. When adjusting the tool angle, the axis of the milling cutter and the axis of the workpiece must form a tooth angle β. This can be achieved by rotating the worktable or spindle. The angle error must be ≤±30′, otherwise it will cause the tooth angle to be out of tolerance, affecting the clutch engagement performance. During the processing, a dial indicator must be used to measure the tooth depth to ensure that the depth of each tooth is consistent. For thin-walled clutches, an elastic clamp must be used to reduce clamping deformation. The clamping force should be large enough so that the workpiece does not loosen. After processing is completed, the tooth profile angle (using an angle template), tooth pitch (using a vernier caliper) and surface roughness (using a roughness meter) need to be inspected. The Ra value of the tooth surface should be ≤3.2μm. Important clutches need to be color-checked to ensure that the tooth surface contact area is ≥70% to ensure the reliability of torque transmission.
